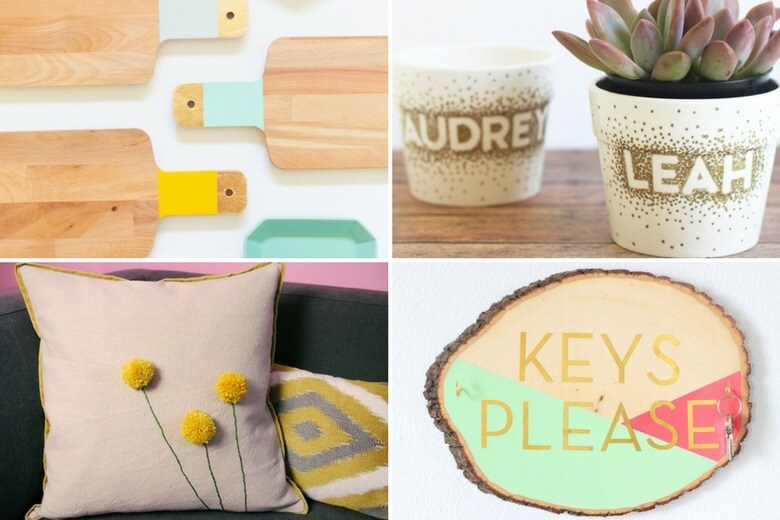
15 Cute And Expensive Looking DIY Gifts You Have To Make
Since Mother’s day is coming up, I’ve been thinking about what gift I could give to my mom (even though she says she doesn’t need anything). I always feel like I’m really bad with gifts since I struggle to pick something. But after thinking about it, I’ve decided to make something this year instead. So …
15 Cute And Expensive Looking DIY Gifts You Have To Make Read More »